Installation using Isaac Sim pip — Isaac Lab Documentation
Title: Installation using Isaac Sim pip#
URL Source: https://isaac-sim.github.io/IsaacLab/main/source/setup/installation/pip_installation.html
Published Time: Fri, 12 Sep 2025 14:27:09 GMT
Markdown Content: Isaac Lab requires Isaac Sim. This tutorial first installs Isaac Sim from pip, then Isaac Lab from source code.
Installing Isaac Sim#
From Isaac Sim 4.0 release, it is possible to install Isaac Sim using pip. This approach makes it easier to install Isaac Sim without requiring to download the Isaac Sim binaries. If you encounter any issues, please report them to the Isaac Sim Forums.
Attention
Installing Isaac Sim with pip requires GLIBC 2.35+ version compatibility. To check the GLIBC version on your system, use command ldd --version.
This may pose compatibility issues with some Linux distributions. For instance, Ubuntu 20.04 LTS has GLIBC 2.31 by default. If you encounter compatibility issues, we recommend following the Isaac Sim Binaries Installation approach.
Note
If you use Conda, we recommend using Miniconda.
- To use the pip installation approach for Isaac Sim, we recommend first creating a virtual environment. Ensure that the python version of the virtual environment is Python 3.11.
conda environment
conda create -n env_isaaclab python=3.11 conda activate env_isaaclab uv environment
Linux
create a virtual environment named env_isaaclab with python3.11
uv venv --python 3.11 env_isaaclab
activate the virtual environment
source env_isaaclab/bin/activate Windows
create a virtual environment named env_isaaclab with python3.11
uv venv --python 3.11 env_isaaclab
activate the virtual environment
env_isaaclab\Scripts\activate
venv environment
Linux
create a virtual environment named env_isaaclab with python3.11
python3.11 -m venv env_isaaclab
activate the virtual environment
source env_isaaclab/bin/activate Windows
create a virtual environment named env_isaaclab with python3.11
python3.11 -m venv env_isaaclab
activate the virtual environment
env_isaaclab\Scripts\activate
- Before installing Isaac Sim, ensure the latest pip version is installed. To update pip, run
Linux
pip install --upgrade pip Windows
python -m pip install --upgrade pip
Note
If you use uv, replace pip with uv pip.
- Next, install a CUDA-enabled PyTorch 2.7.0 build.
pip install torch==2.7.0 torchvision==0.22.0 --index-url https://download.pytorch.org/whl/cu128
- Then, install the Isaac Sim packages.
pip install "isaacsim[all,extscache]==5.0.0" --extra-index-url https://pypi.nvidia.com
Verifying the Isaac Sim installation#
-
Make sure that your virtual environment is activated (if applicable)
-
Check that the simulator runs as expected:
note: you can pass the argument "--help" to see all arguments possible.
isaacsim
- It’s also possible to run with a specific experience file, run:
experience files can be absolute path, or relative path searched in isaacsim/apps or omni/apps
isaacsim isaacsim.exp.full.kit
Attention
When running Isaac Sim for the first time, all dependent extensions will be pulled from the registry. This process can take upwards of 10 minutes and is required on the first run of each experience file. Once the extensions are pulled, consecutive runs using the same experience file will use the cached extensions.
Attention
The first run will prompt users to accept the NVIDIA Software License Agreement. To accept the EULA, reply Yes when prompted with the below message:
By installing or using Isaac Sim, I agree to the terms of NVIDIA SOFTWARE LICENSE AGREEMENT (EULA) in https://www.nvidia.com/en-us/agreements/enterprise-software/nvidia-software-license-agreement
Do you accept the EULA? (Yes/No): Yes
If the simulator does not run or crashes while following the above instructions, it means that something is incorrectly configured. To debug and troubleshoot, please check Isaac Sim documentation and the forums.
Installing Isaac Lab#
Cloning Isaac Lab#
Note
We recommend making a fork of the Isaac Lab repository to contribute to the project but this is not mandatory to use the framework. If you make a fork, please replace isaac-sim with your username in the following instructions.
Clone the Isaac Lab repository into your workspace:
SSH
git clone [email protected]:isaac-sim/IsaacLab.git
HTTPS
git clone https://github.com/isaac-sim/IsaacLab.git
Note
We provide a helper executable isaaclab.sh that provides utilities to manage extensions:
Linux
./isaaclab.sh --help
usage: isaaclab.sh [-h] [-i] [-f] [-p] [-s] [-t] [-o] [-v] [-d] [-n] [-c] -- Utility to manage Isaac Lab.
optional arguments: -h, --help Display the help content. -i, --install [LIB] Install the extensions inside Isaac Lab and learning frameworks (rl_games, rsl_rl, sb3, skrl) as extra dependencies. Default is 'all'. -f, --format Run pre-commit to format the code and check lints. -p, --python Run the python executable provided by Isaac Sim or virtual environment (if active). -s, --sim Run the simulator executable (isaac-sim.sh) provided by Isaac Sim. -t, --test Run all python pytest tests. -o, --docker Run the docker container helper script (docker/container.sh). -v, --vscode Generate the VSCode settings file from template. -d, --docs Build the documentation from source using sphinx. -n, --new Create a new external project or internal task from template. -c, --conda [NAME] Create the conda environment for Isaac Lab. Default name is 'env_isaaclab'. -u, --uv [NAME] Create the uv environment for Isaac Lab. Default name is 'env_isaaclab'.
Windows
isaaclab.bat --help
usage: isaaclab.bat [-h] [-i] [-f] [-p] [-s] [-v] [-d] [-n] [-c] -- Utility to manage Isaac Lab.
optional arguments: -h, --help Display the help content. -i, --install [LIB] Install the extensions inside Isaac Lab and learning frameworks (rl_games, rsl_rl, sb3, skrl) as extra dependencies. Default is 'all'. -f, --format Run pre-commit to format the code and check lints. -p, --python Run the python executable provided by Isaac Sim or virtual environment (if active). -s, --sim Run the simulator executable (isaac-sim.bat) provided by Isaac Sim. -t, --test Run all python pytest tests. -v, --vscode Generate the VSCode settings file from template. -d, --docs Build the documentation from source using sphinx. -n, --new Create a new external project or internal task from template. -c, --conda [NAME] Create the conda environment for Isaac Lab. Default name is 'env_isaaclab'. -u, --uv [NAME] Create the uv environment for Isaac Lab. Default name is 'env_isaaclab'.
Installation#
- Install dependencies using
apt(on Ubuntu):
sudo apt install cmake build-essential
- Run the install command that iterates over all the extensions in
sourcedirectory and installs them using pip (with--editableflag):
Linux
./isaaclab.sh --install # or "./isaaclab.sh -i"
Windows
isaaclab.bat --install :: or "isaaclab.bat -i"
Note
By default, this will install all the learning frameworks. If you want to install only a specific framework, you can pass the name of the framework as an argument. For example, to install only the rl_games framework, you can run
Linux
./isaaclab.sh --install rl_games # or "./isaaclab.sh -i rl_games"
Windows
isaaclab.bat --install rl_games :: or "isaaclab.bat -i rl_games"
The valid options are rl_games, rsl_rl, sb3, skrl, robomimic, none.
Verifying the Isaac Lab installation#
To verify that the installation was successful, run the following command from the top of the repository:
Linux
Option 1: Using the isaaclab.sh executable
note: this works for both the bundled python and the virtual environment
./isaaclab.sh -p scripts/tutorials/00_sim/create_empty.py
Option 2: Using python in your virtual environment
python scripts/tutorials/00_sim/create_empty.py
Windows
:: Option 1: Using the isaaclab.bat executable :: note: this works for both the bundled python and the virtual environment isaaclab.bat -p scripts\tutorials\00_sim\create_empty.py
:: Option 2: Using python in your virtual environment python scripts\tutorials\00_sim\create_empty.py
The above command should launch the simulator and display a window with a black viewport as shown below. You can exit the script by pressing Ctrl+C on your terminal. On Windows machines, please terminate the process from Command Prompt using Ctrl+Break or Ctrl+fn+B.
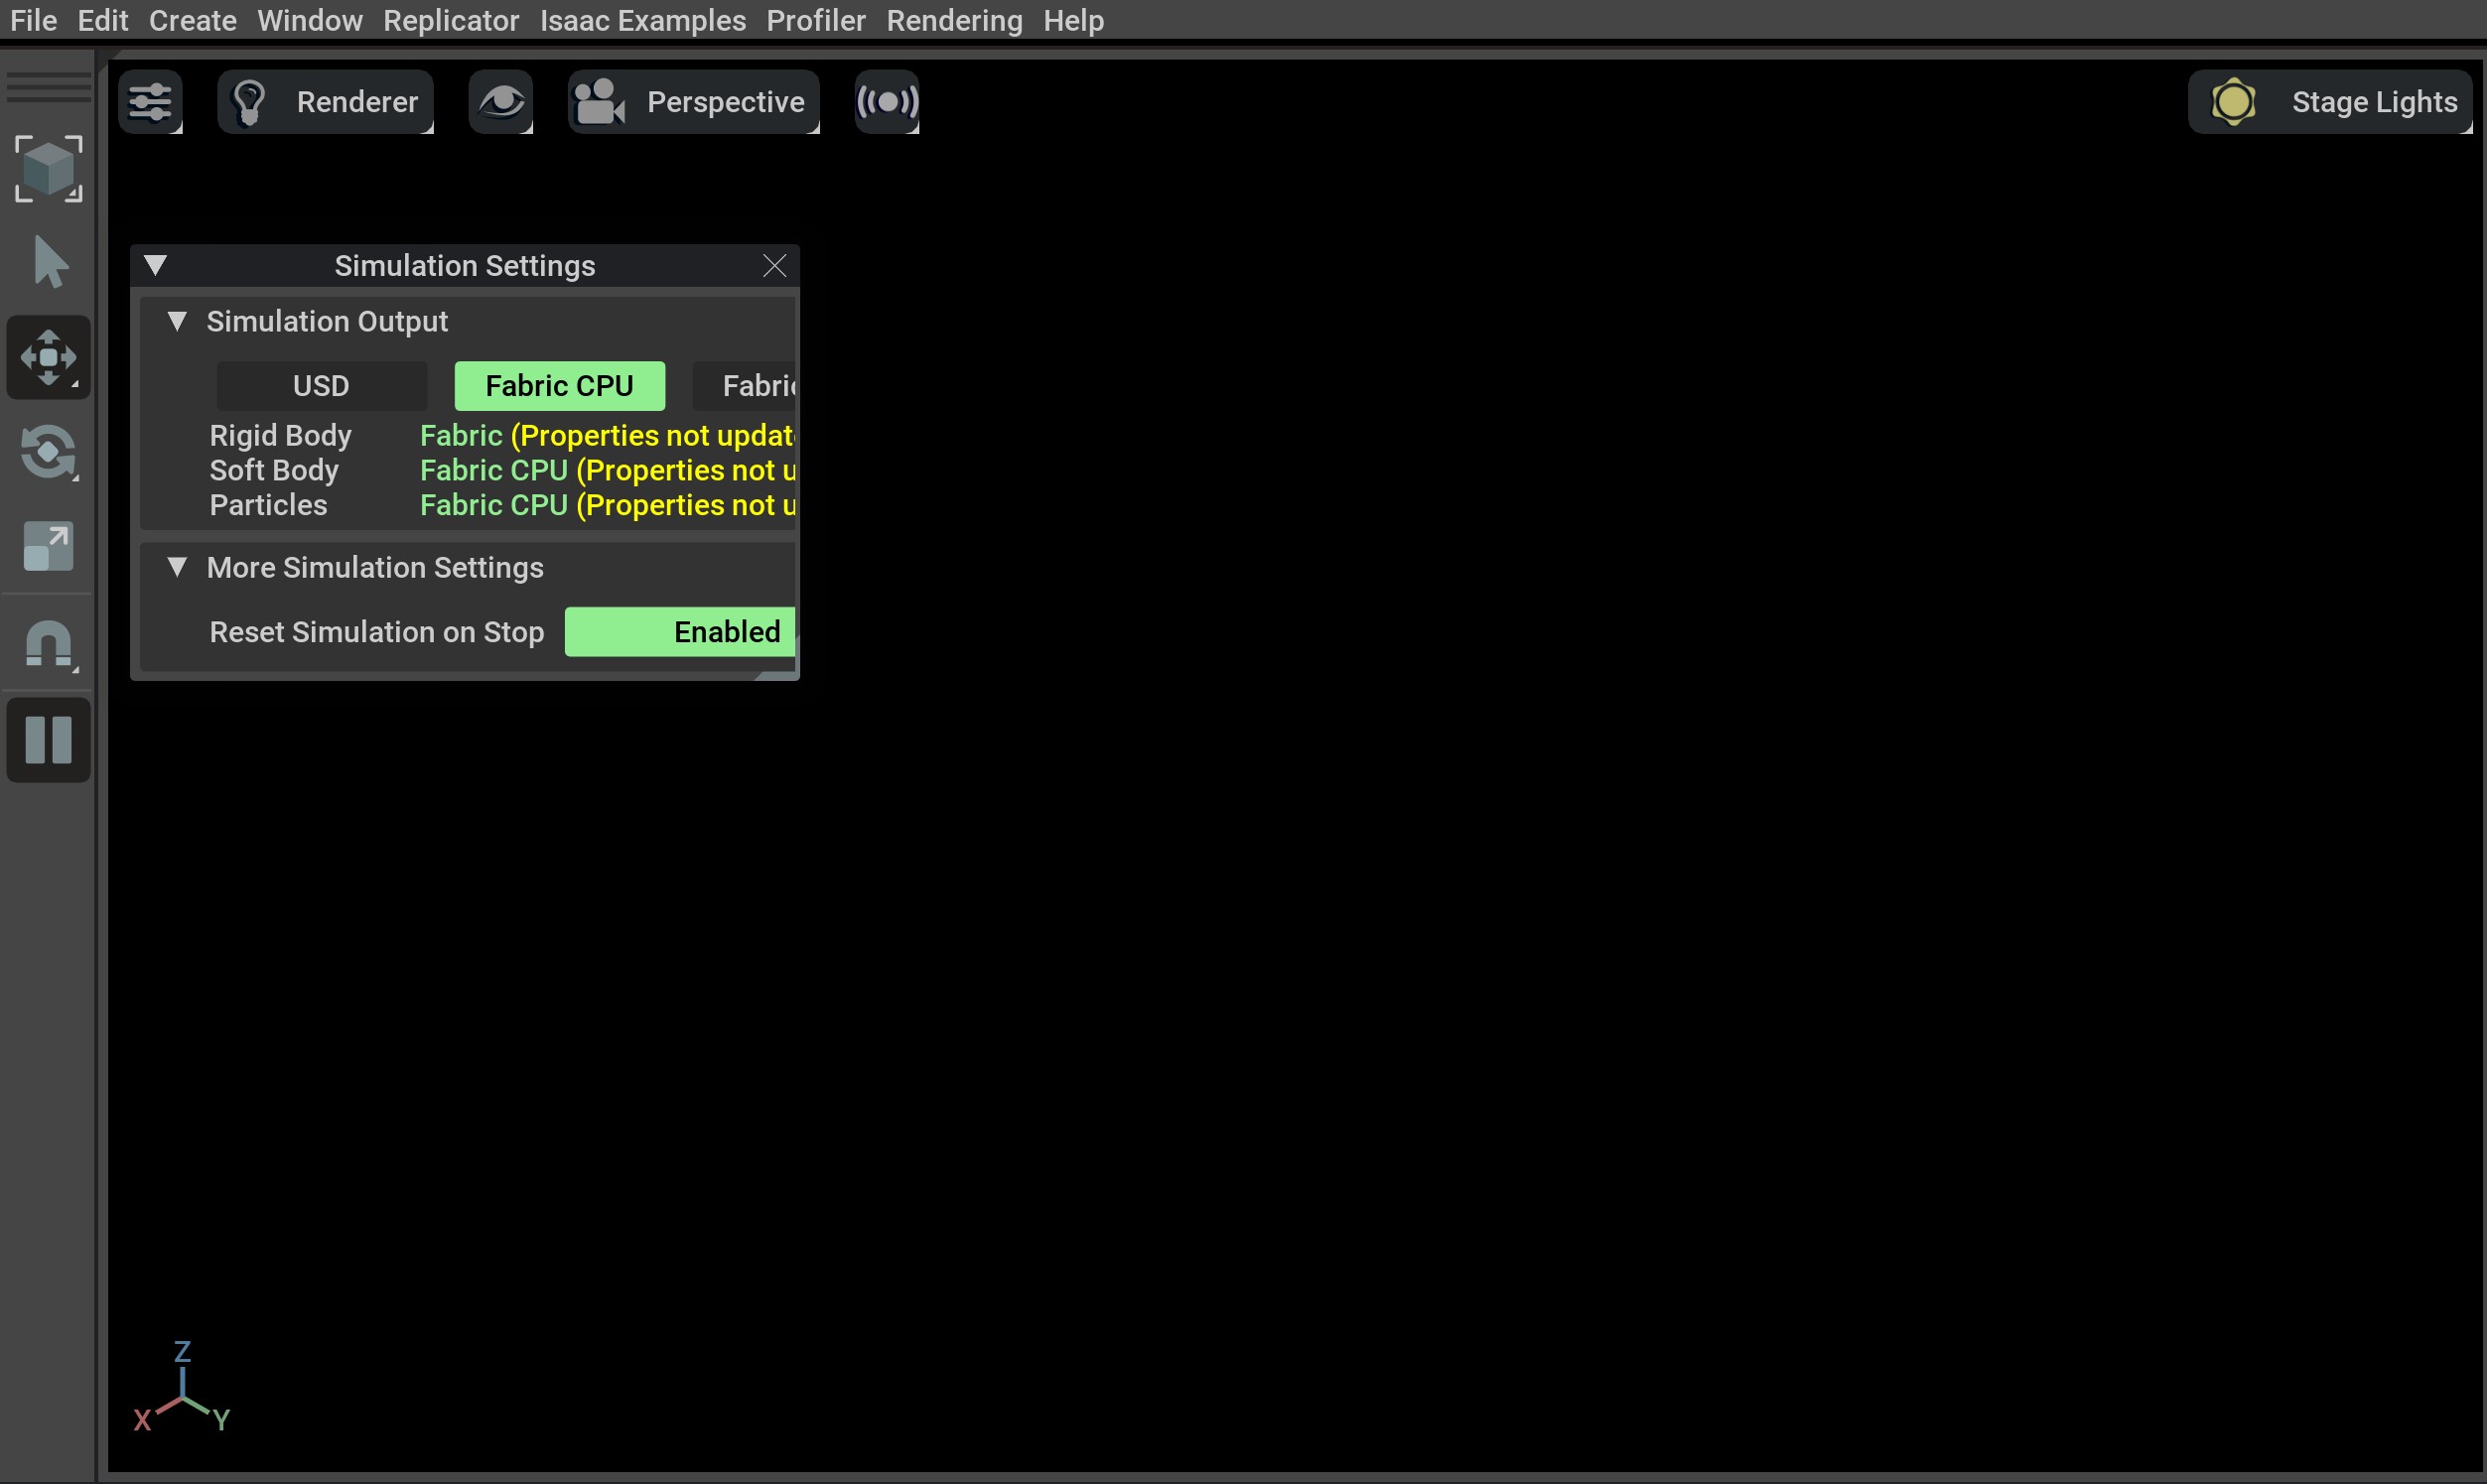 If you see this, then the installation was successful! 🎉
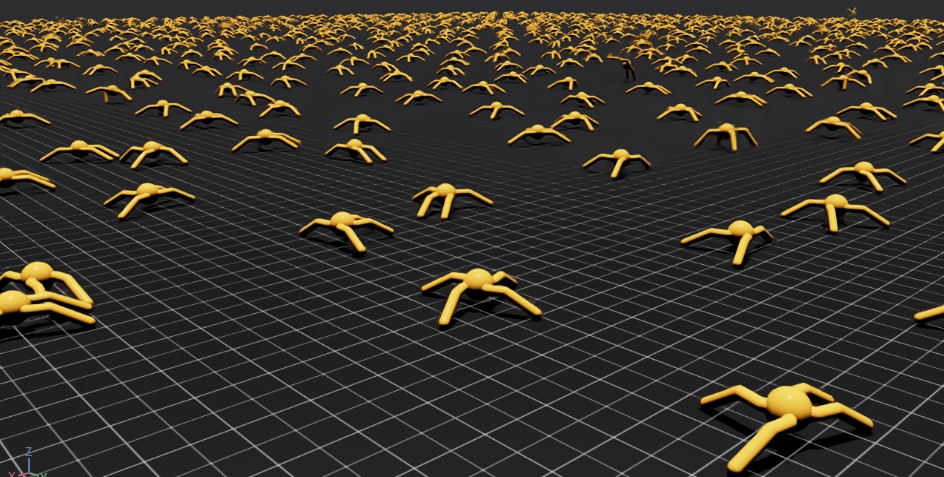
Train a robot
You can now use Isaac Lab to train a robot through Reinforcement Learning! The quickest way to use Isaac Lab is through the predefined workflows using one of our Batteries-included robot tasks. Execute the following command to quickly train an ant to walk! We recommend adding --headless for faster training.
Linux
./isaaclab.sh -p scripts/reinforcement_learning/rsl_rl/train.py --task=Isaac-Ant-v0 --headless
Windows
isaaclab.bat -p scripts/reinforcement_learning/rsl_rl/train.py --task=Isaac-Ant-v0 --headless
… Or a robot dog!
Linux
./isaaclab.sh -p scripts/reinforcement_learning/rsl_rl/train.py --task=Isaac-Velocity-Rough-Anymal-C-v0 --headless
Windows
isaaclab.bat -p scripts/reinforcement_learning/rsl_rl/train.py --task=Isaac-Velocity-Rough-Anymal-C-v0 --headless
Isaac Lab provides the tools you’ll need to create your own Tasks and Workflows for whatever your project needs may be. Take a look at our How-to Guides guides like Adding your own learning Library or Wrapping Environments for details.
Links/Buttons:
- #
- Isaac Sim Forums
- Isaac Sim Binaries Installation
- Technical Requirements
- enable long path support
- Set up Visual Studio Code
- Miniconda
- documentation
- forums
- fork
- isaaclab.sh
- How-to Guides
- Adding your own learning Library
- Wrapping Environments